Table of Contents
MC 352 Printer
(Temporarily in MC 312)
Overview
| Location | Middlesex College 352 |
| Model | Toshiba e-STUDIO3505AC |
| Description | Computer Science printer room (I/O counter) |
| Accessible To | Computer Science faculty, staff, and graduate students |
| Undergraduate Access | None |
| Accounting | PaperCut |
| Colour | Yes |
| Duplexer | Yes |
| Scanning | Yes |
| Photocopying | Yes |
| Stapling | Yes |
| Hole Punch | No |
Costs
| Black and white | $0.05/page |
| Colour | $0.10/page |
This printer is managed by PaperCut. Users must have funds in their PaperCut account to print. Students can add funds online via credit card, or by purchasing pre-paid cards through Western Libraries. Funds are usable anywhere PaperCut is used on campus.
Checking Your Account Balance
You can check your account balance online at https://papercut.uwo.ca If you require additional funds for printing, you have the following options available to you:
- Ask your supervisor to top up your account (graduate students only)
- Pay from your grant (faculty only; speak with the main office staff)
Printer Usage
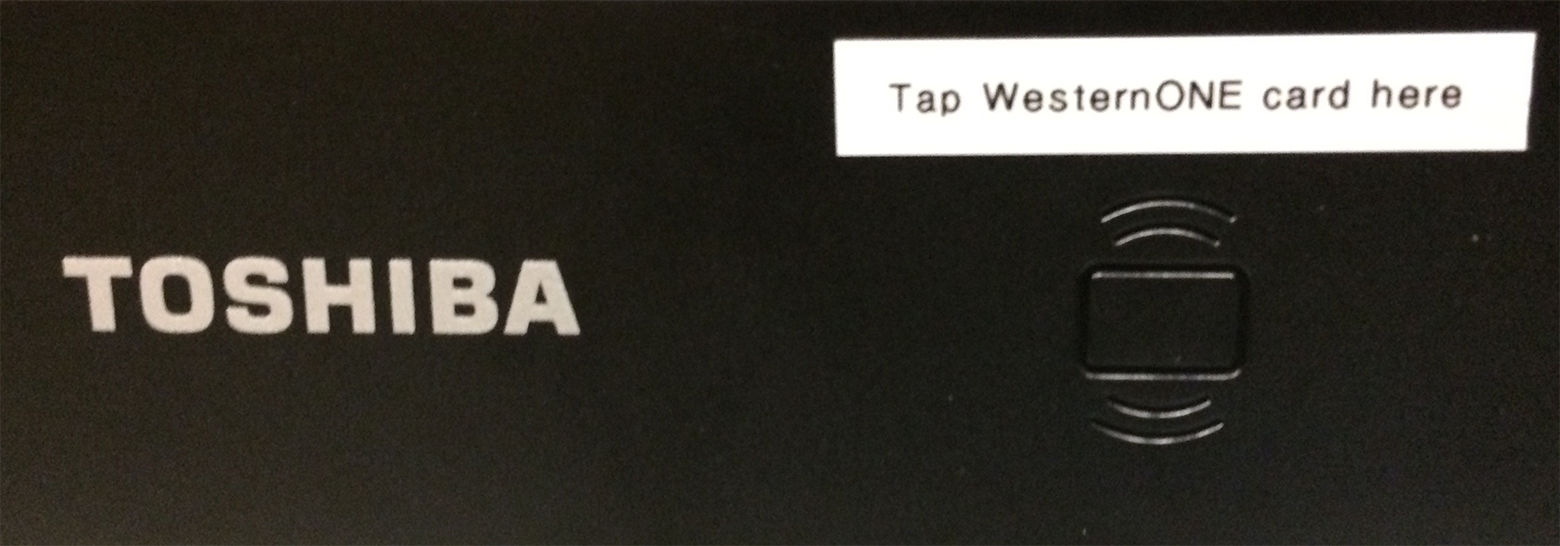
This printer is managed by PaperCut and has an integrated RFID reader. To log in to the printer to release print jobs, scan, or photocopy, you will need to tape your WesternONE card where indicated on the printer.
The first time you do this, you'll be asked to associate your WesternONE card with your PaperCut account, as discussed in the next section.
Associating Your WesternOne Card with PaperCut
The first time you tap your card, you will need to enter your Western username and password to associate your WesternONE card with your PaperCut account. This is a one-time setup process.
Releasing a Print Job
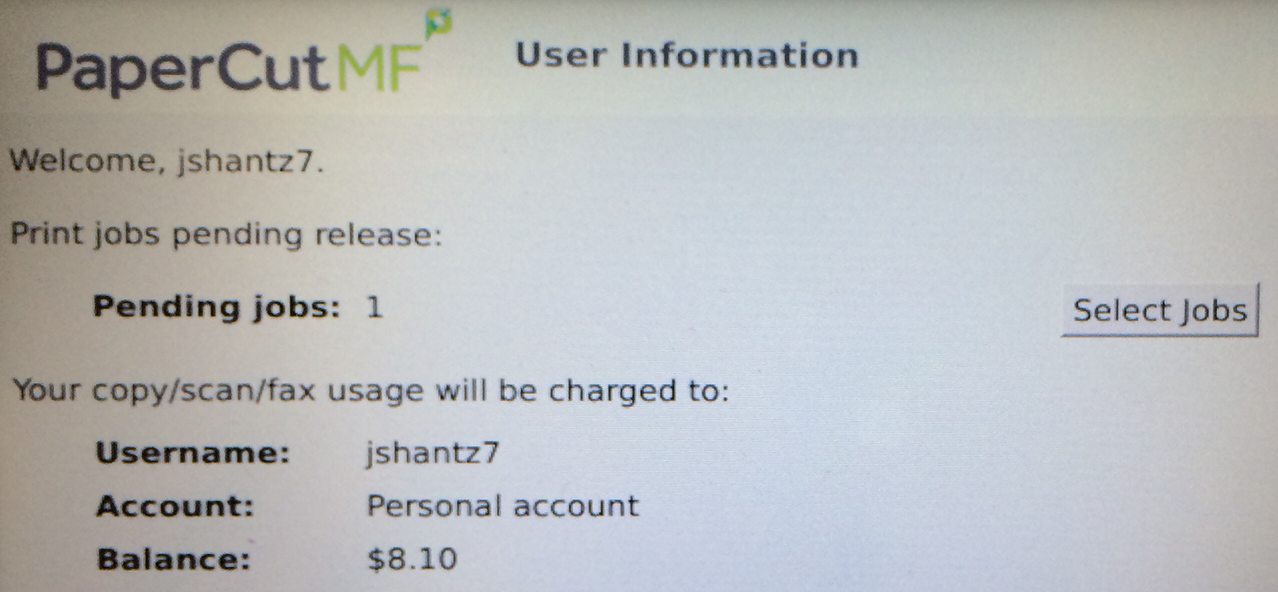
When you print to the printer, your job will be held. You must bring your WesternONE card to MC 352 and follow the instructions below to release the job.
Photocopying and Scanning
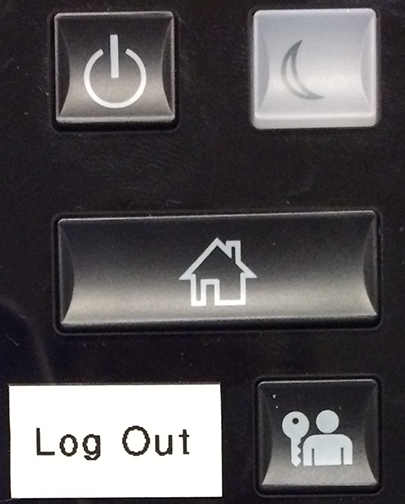
To access the photocopying and scanning features of the unit, follow the instructions below.
Setup Guides
Windows (UWO Domain)
If you log in to your PC with your Western username and password, please see Installing a Printer on Windows (UWO domain).
Windows (Non-UWO Domain)
If you do not log in to your PC with your Western username and password, please see Installing a Printer on Windows (non-UWO domain).
macOS
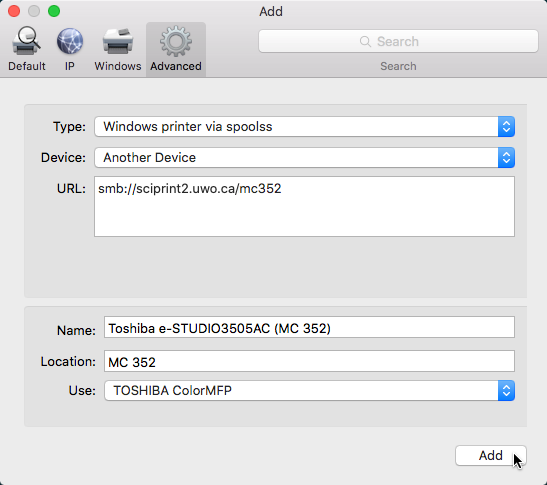
Download and install the Toshiba e-STUDIO macOS printer driver. Follow the instructions at Installing a Printer on macOS, noting the printer-specific steps below.
Ubuntu
Download the Toshiba e-STUDIO Ubuntu printer driver. Open a terminal and install the driver:
cd ~/Downloads
sudo tar xvf TOSHIBA_ColorMFP_CUPS.tar -C /
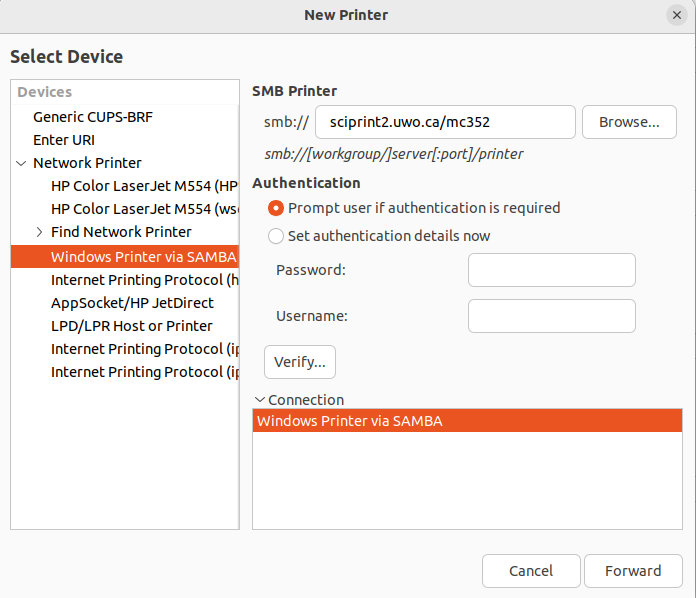
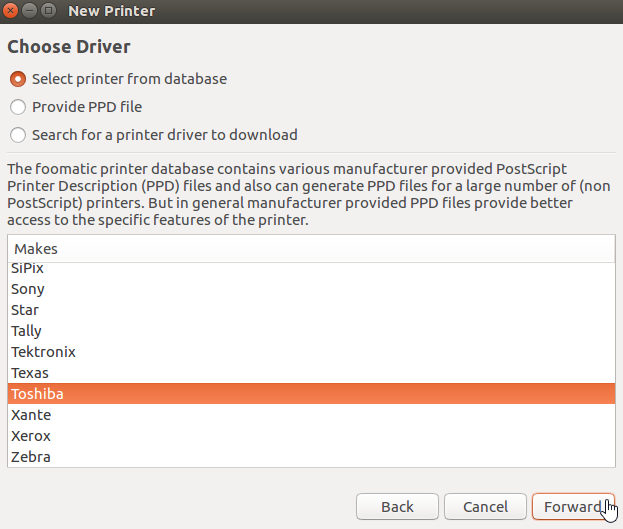
Follow the instructions in Installing a Printer on Ubuntu, noting the printer-specific steps below.
