printing:printerinstallationbyoperatingsystem:installingaprinteronwindowsuwodomain
Table of Contents
Installing a Printer on Windows (UWO domain)
Overview
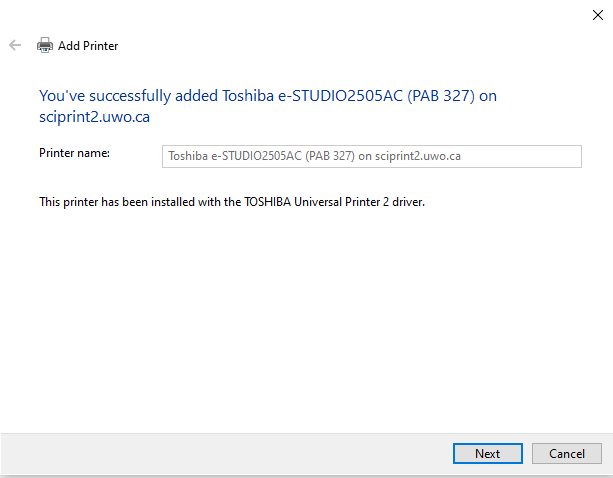
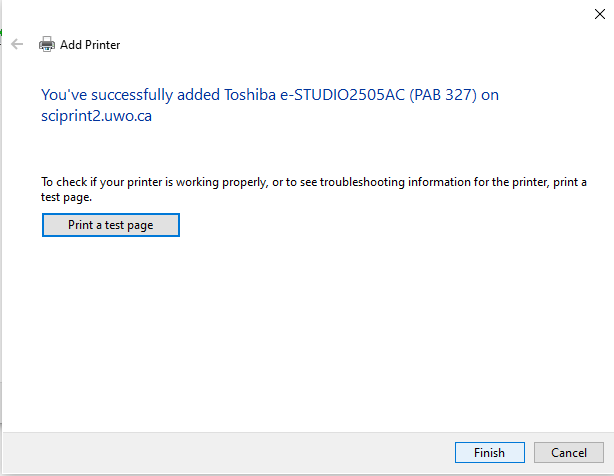
This article describes how to install a printer on a Windows PC joined to the UWO domain.
Applies To
Users installing a Science Technology Services-managed printer on a Windows 10/11 PC joined to the UWO domain. If you log in to your PC with your Western credentials, your PC is joined to the UWO domain and you should follow these instructions.
If you are on the wireless network and/or you log in to your PC with a local account, your PC is not joined to the UWO domain and you should follow Installing a Printer on Windows (non-UWO domain) instead.
Process
printing/printerinstallationbyoperatingsystem/installingaprinteronwindowsuwodomain.txt · Last modified: by stsadmin

