Table of Contents
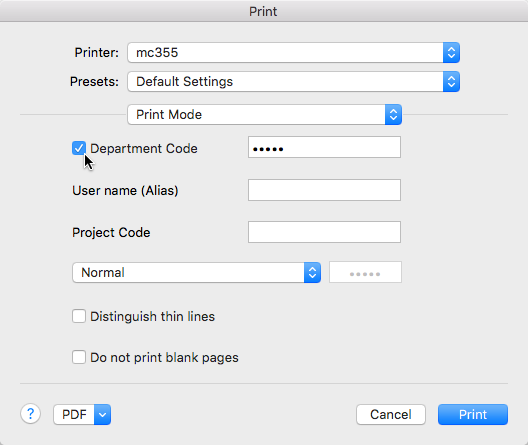
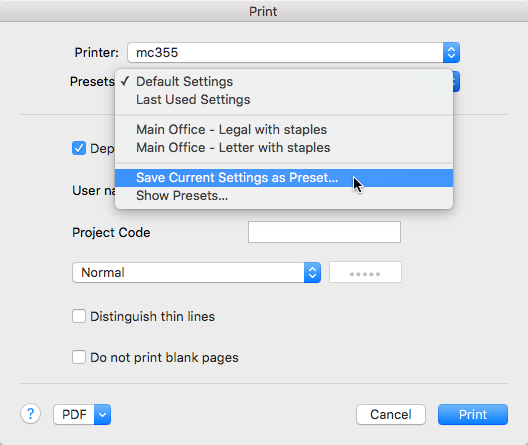
Configuring a Department Code on macOS
Overview
If you have been issued a department code for a printer that requires one, you will need to configure the printer on your Mac to use the department code before you can print. This document details the process of configuring a printer to use a department code on a Mac.


