Table of Contents
Instructions for Connecting to NVIDIA GeForce GTX 3090 eGPU
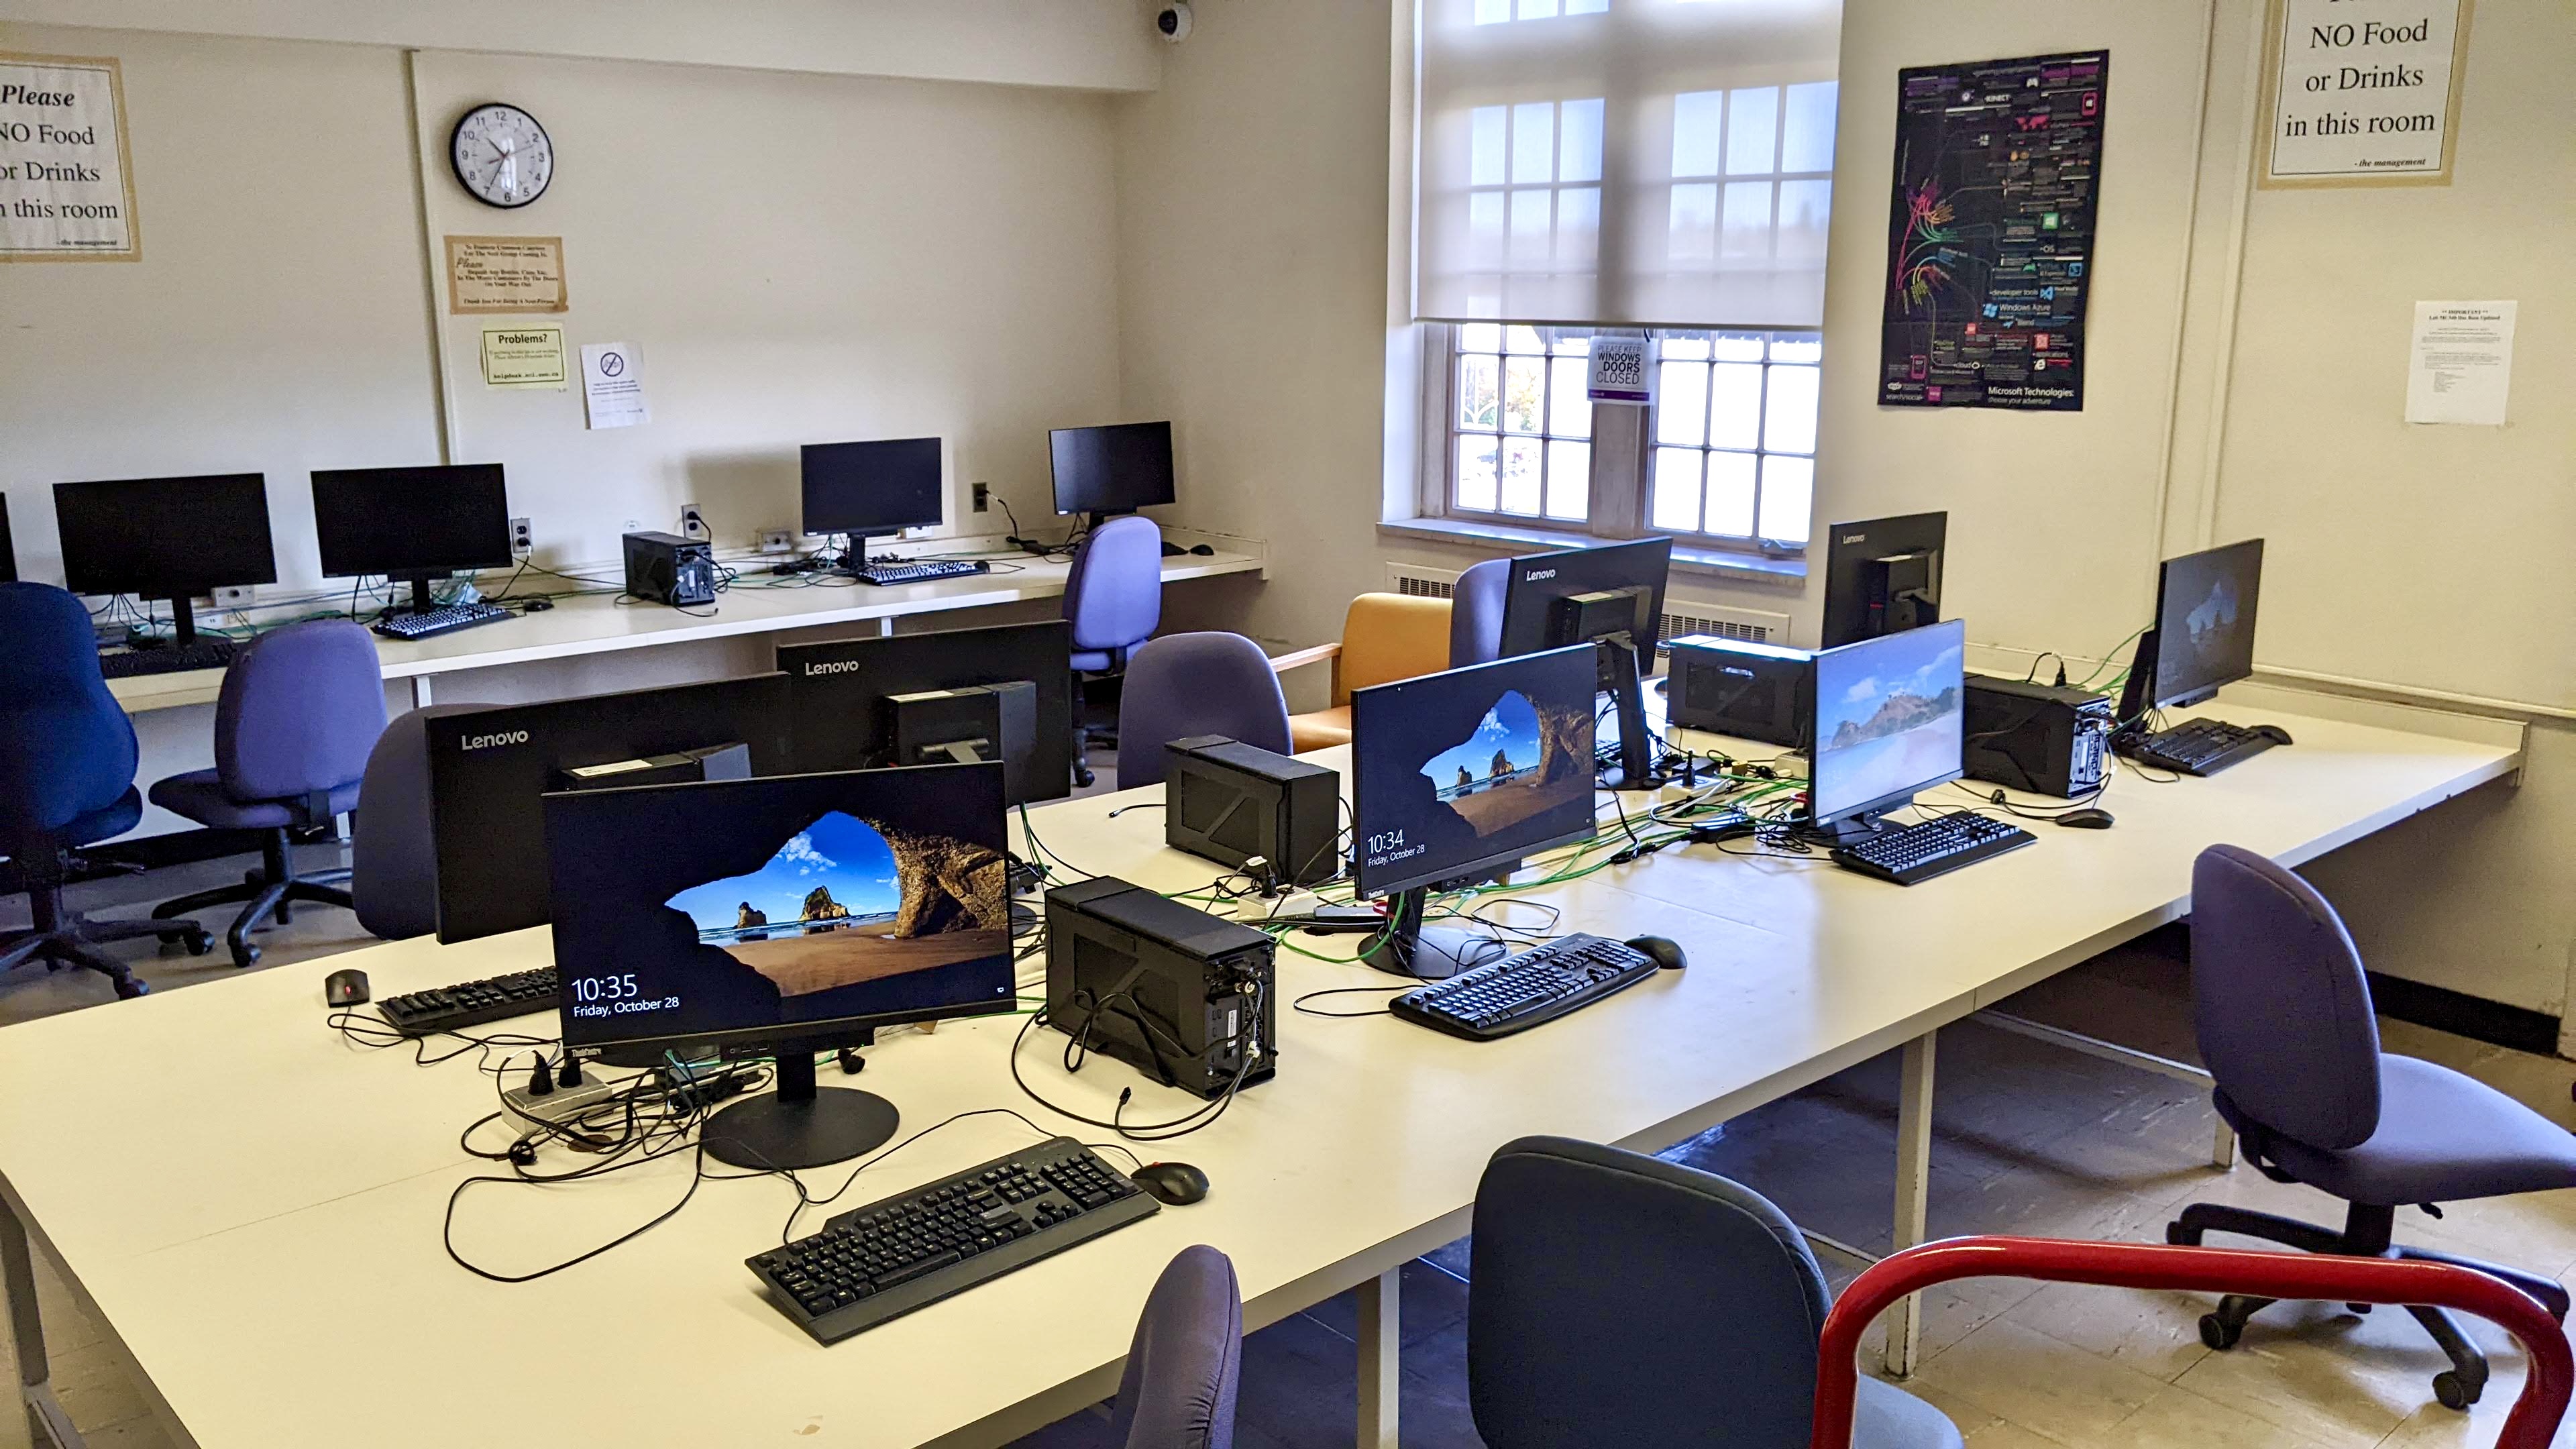
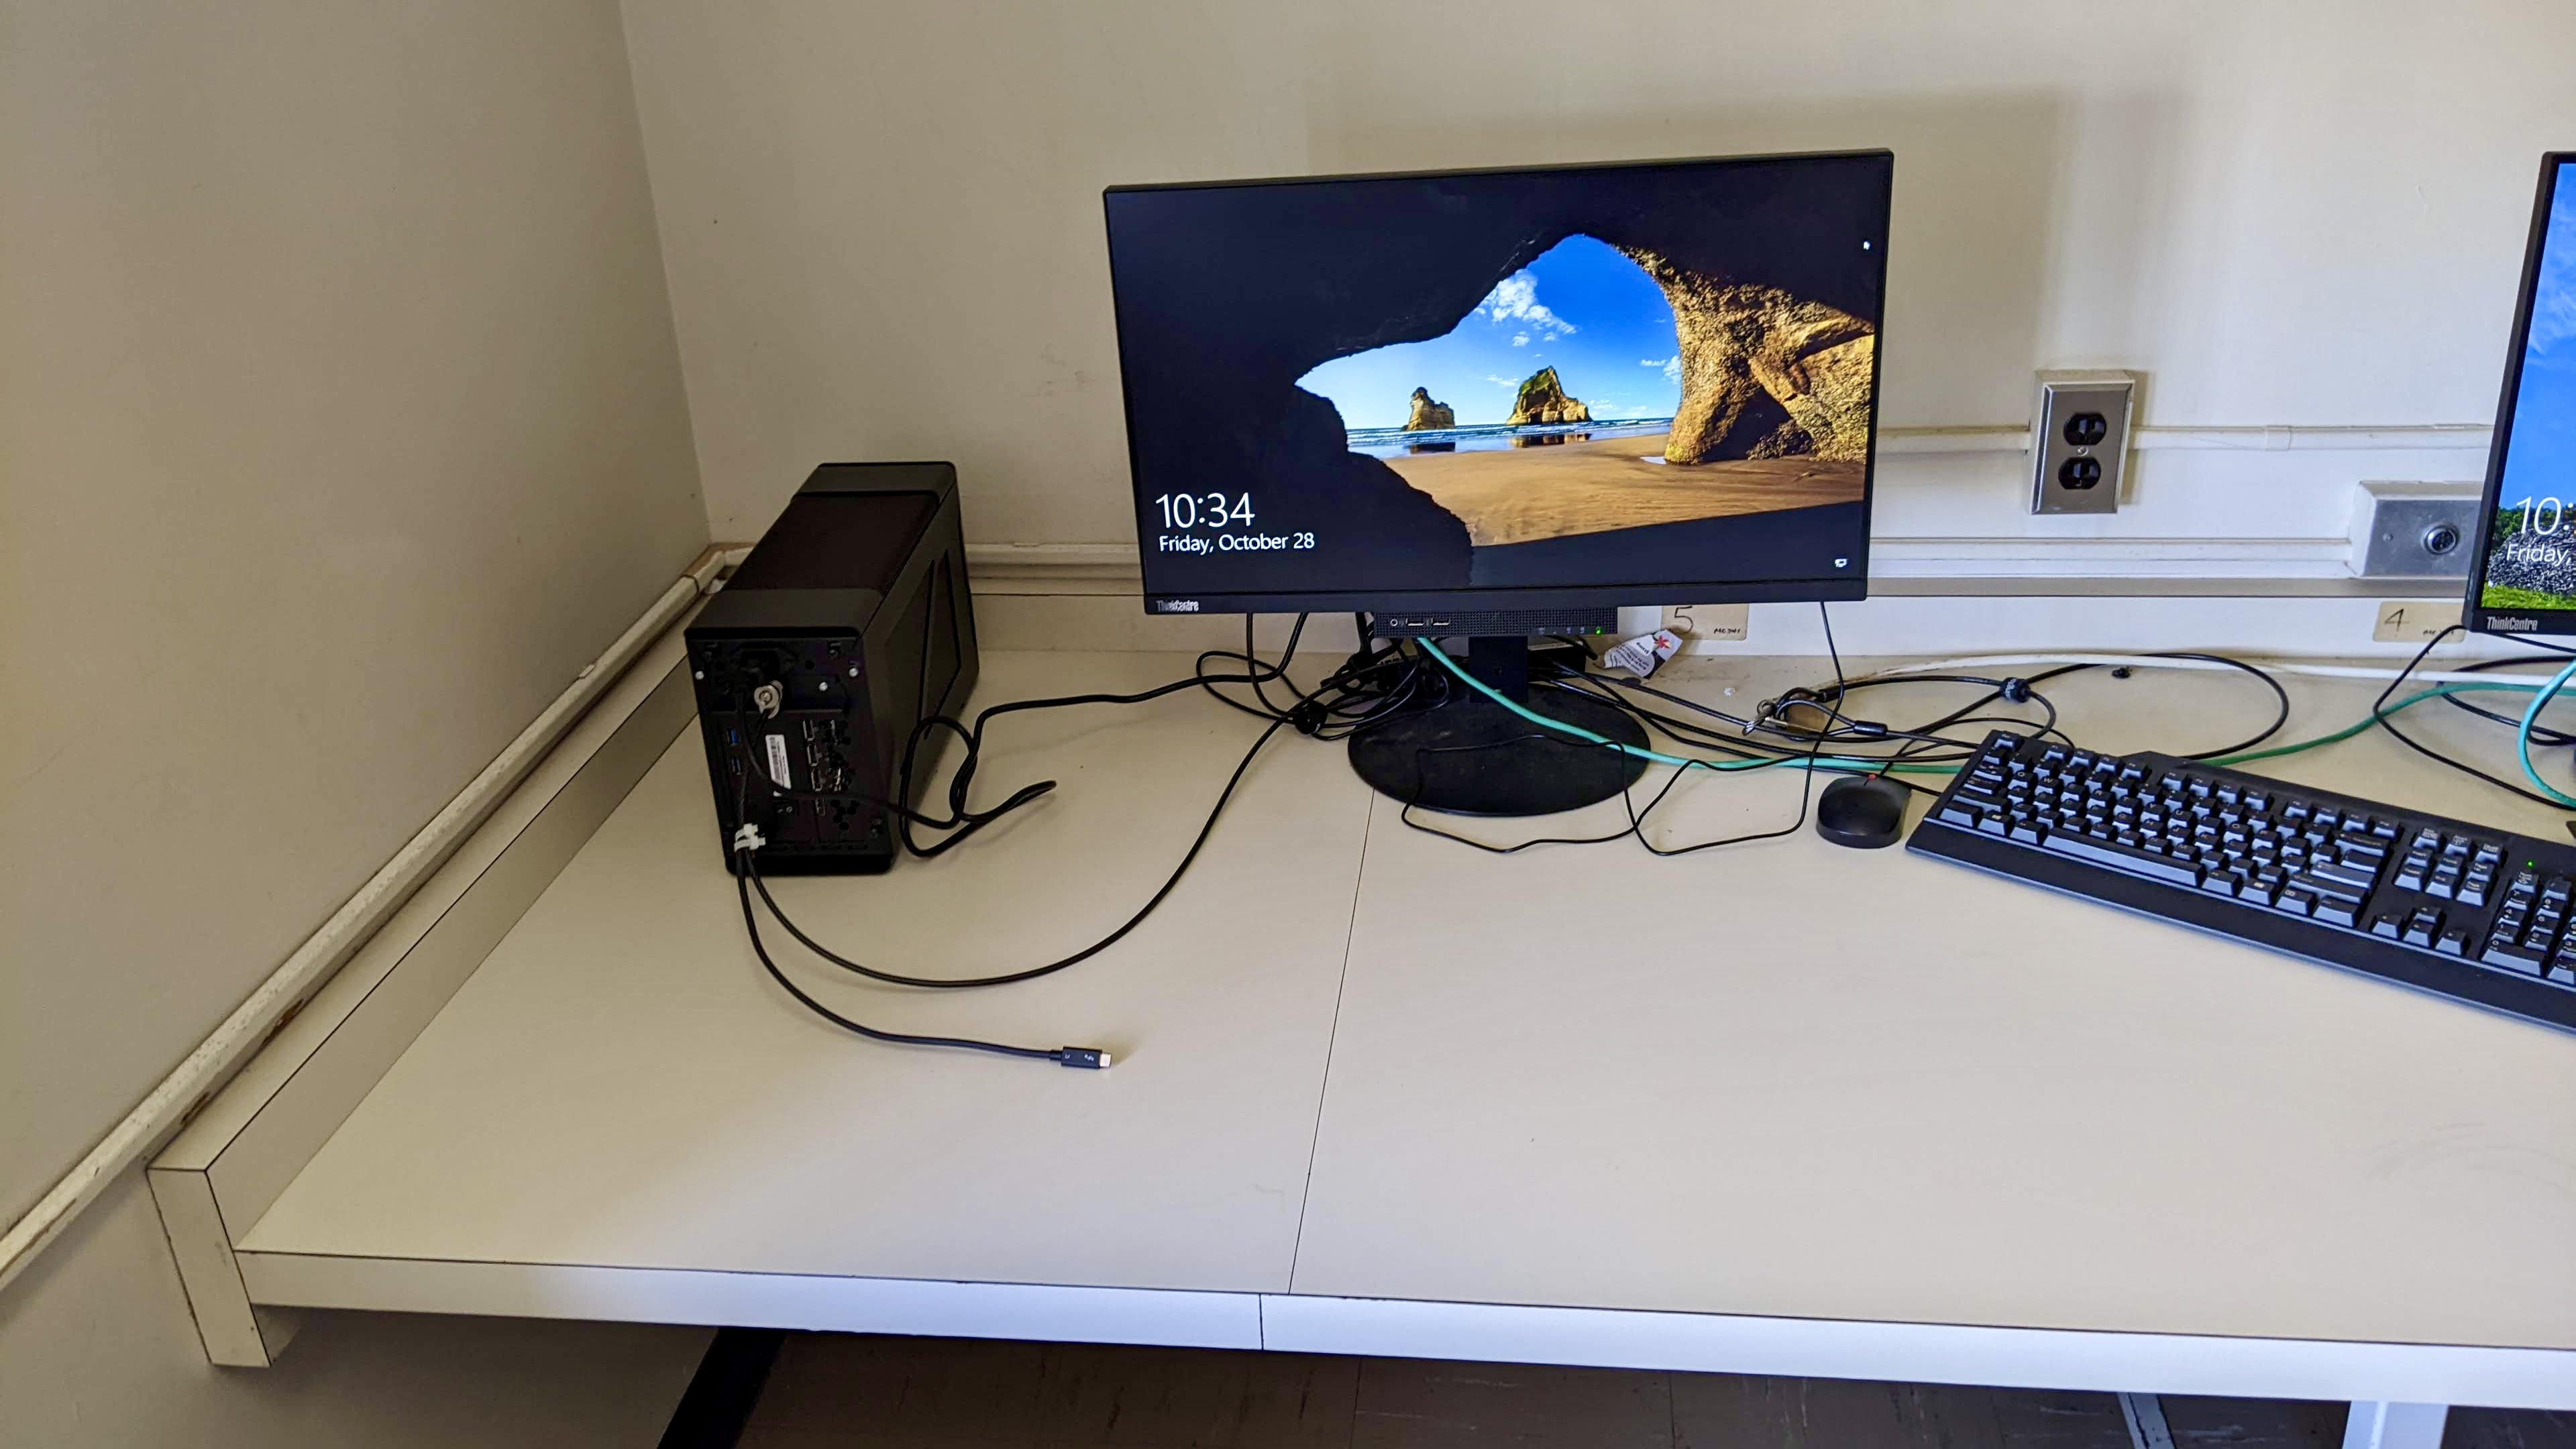
In lab mc342 are seven external GPU systems, or eGPU, each equipped with an NVIDIA GTX 3090 Graphics Accelerator card which are available for use by Computer Science students.
System Requirements
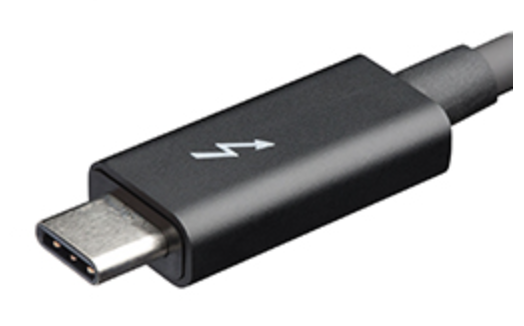
- You must have a Windows laptop with a Thunderbolt-3 (or faster) port. Note that USB-C has the same shape port as Thunderbolt. A Thunderbolt 3 port looks like a standard USB-C port on any laptop or desktop computer, but can be distinguished by a lightning bolt icon printed next to it.
- Mac systems are not supported
Example of Thunderbolt-3 cable.
Initial Setup
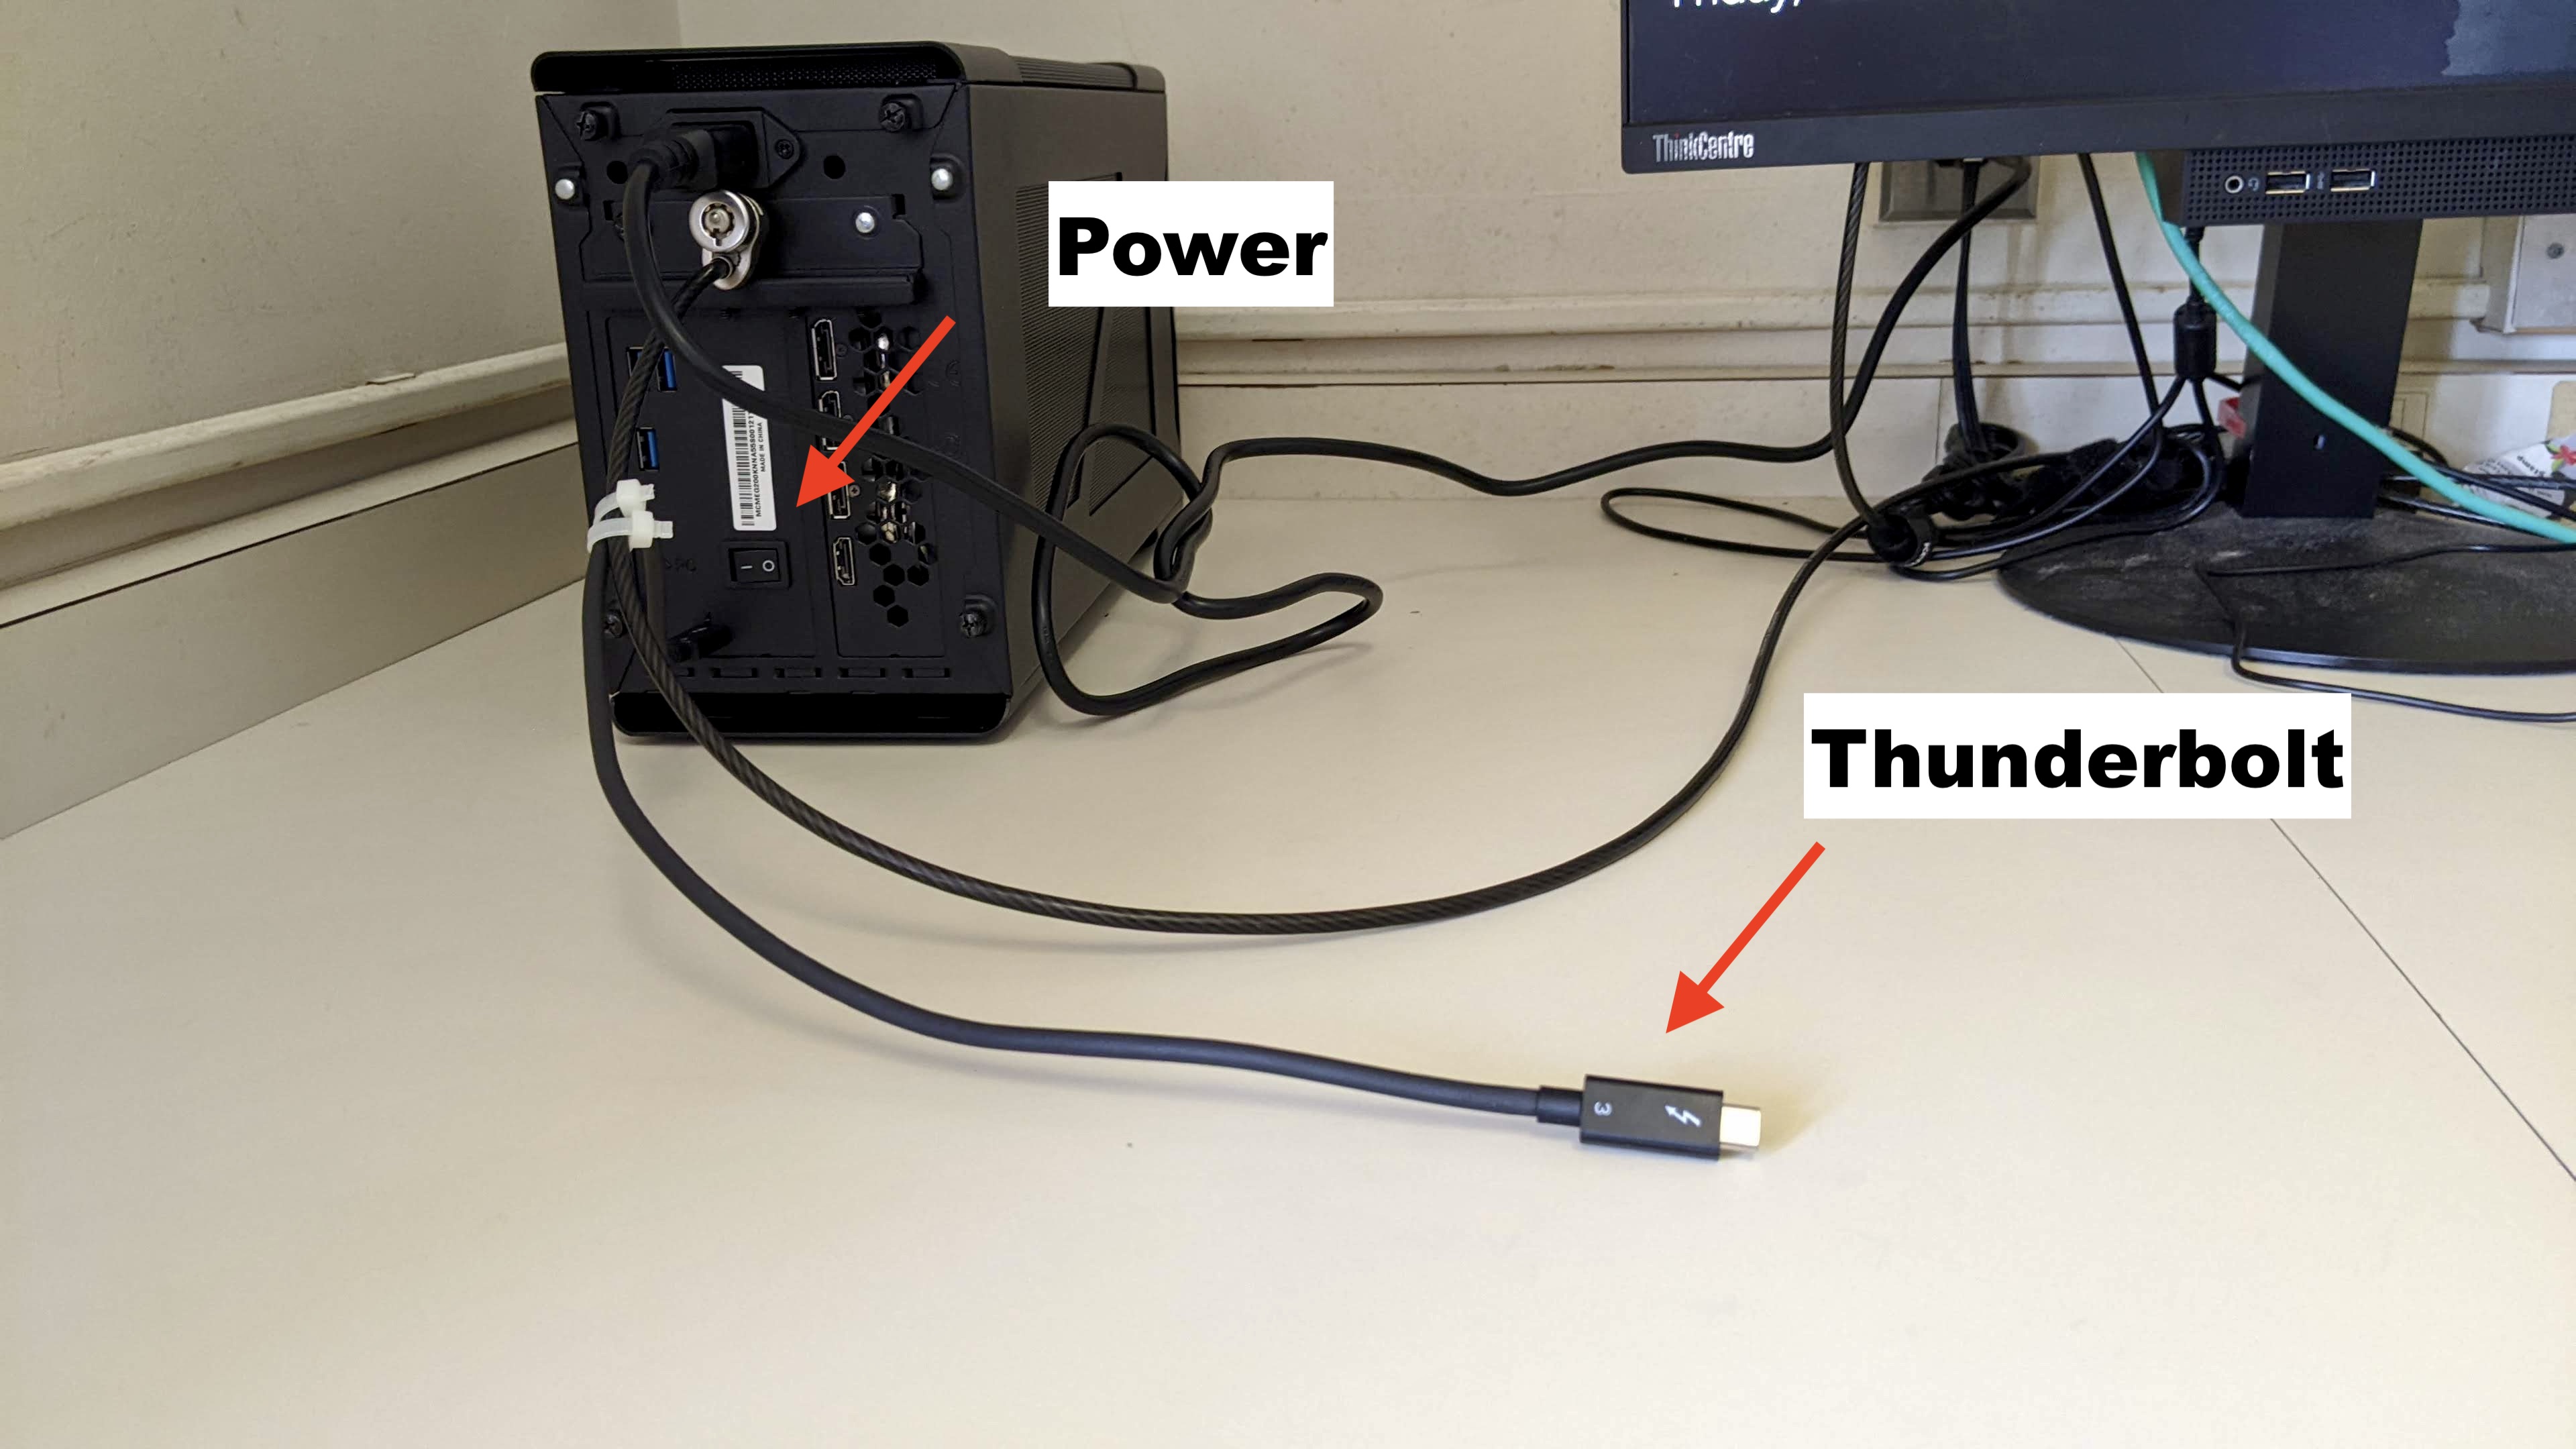
1. Use the Thunderbolt cable to plug the eGPU enclosure into the Thunderbolt port on your laptop.
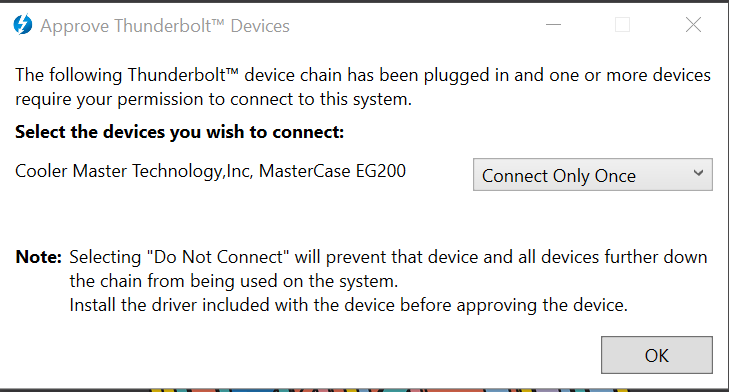
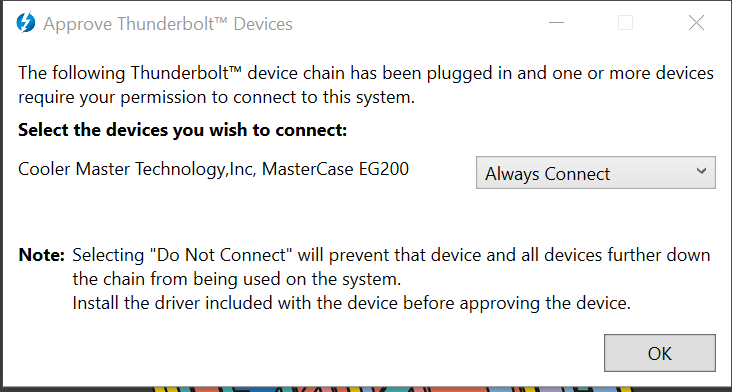
2. If prompted, use the Thunderbolt Software application to allow the eGPU to connect to your laptop. Select Connect Only Once or Always Connect.
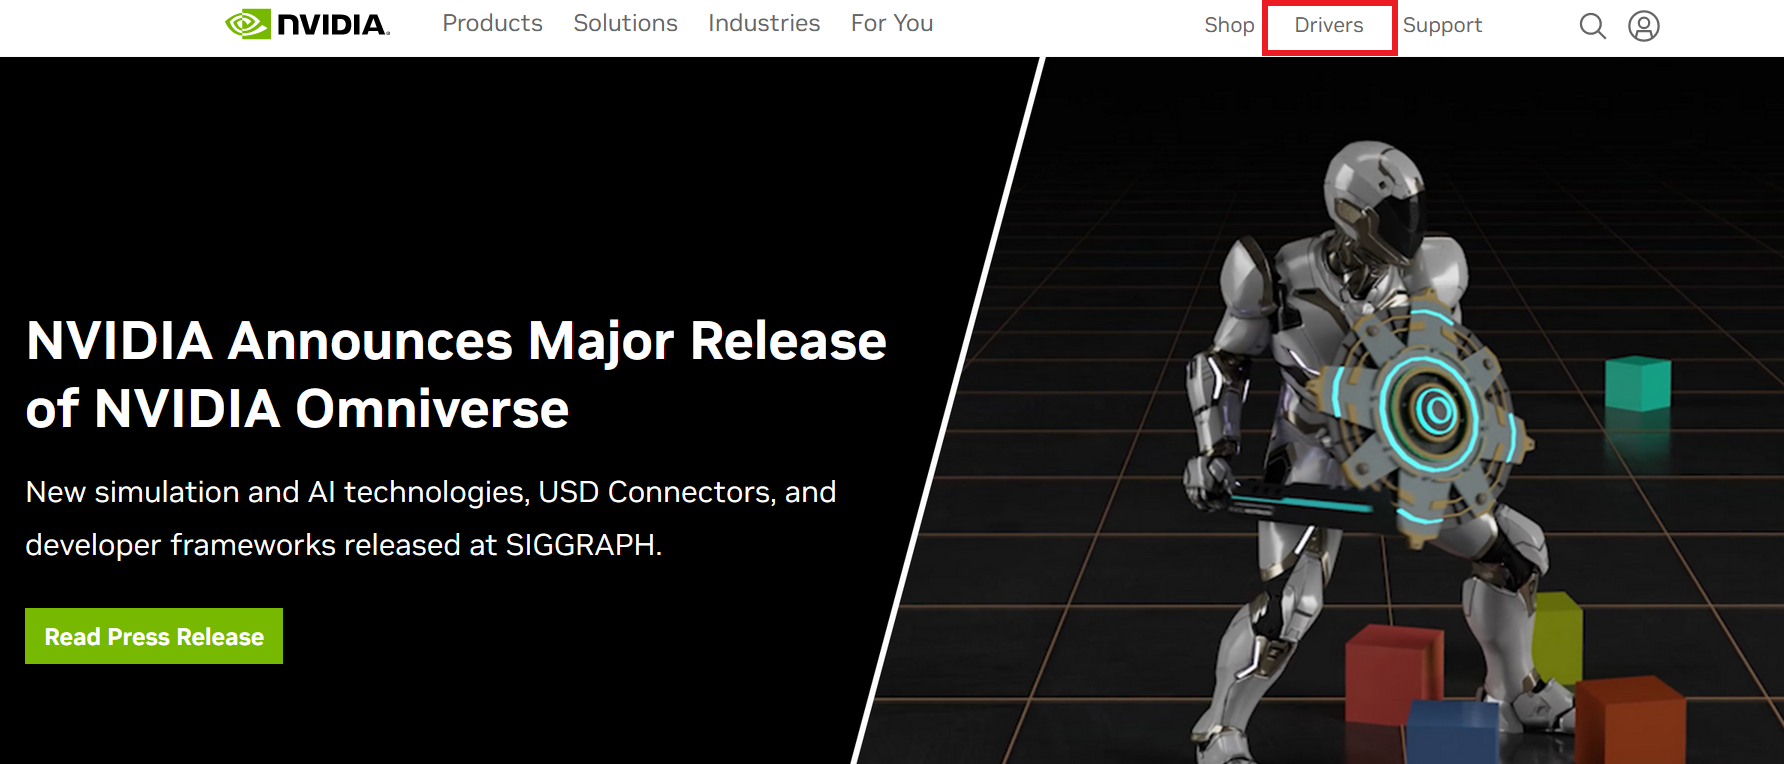
3. Open a web browser and navigate to https://www.nvidia.com and choose Canada when asked to select your location.
4. From the banner on the top of the web page, click the Drivers link.
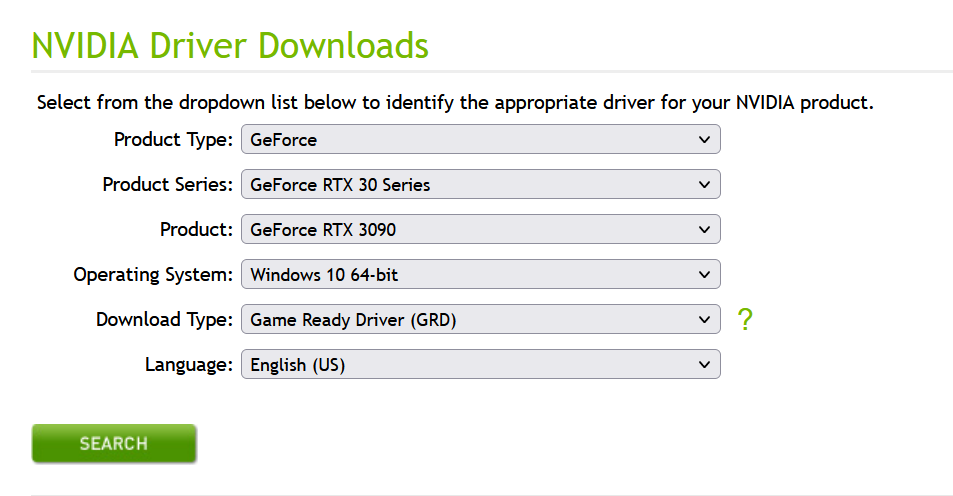
5. On the next page, fill out the forms as follows and click the SEARCH button:
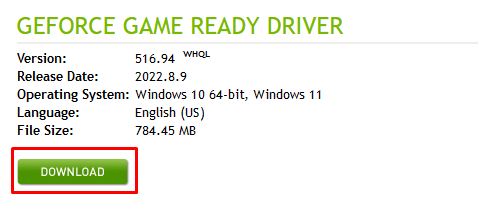
6. Click the DOWNLOAD button to download the correct driver for your system.
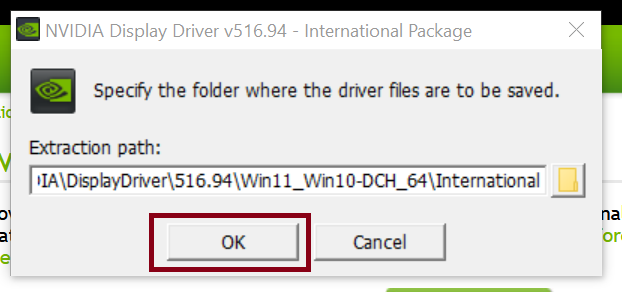
7. Confirm the download by clicking the DOWNLOAD button again on the next page. Save the installer to your laptop and open it once it has completed downloading.
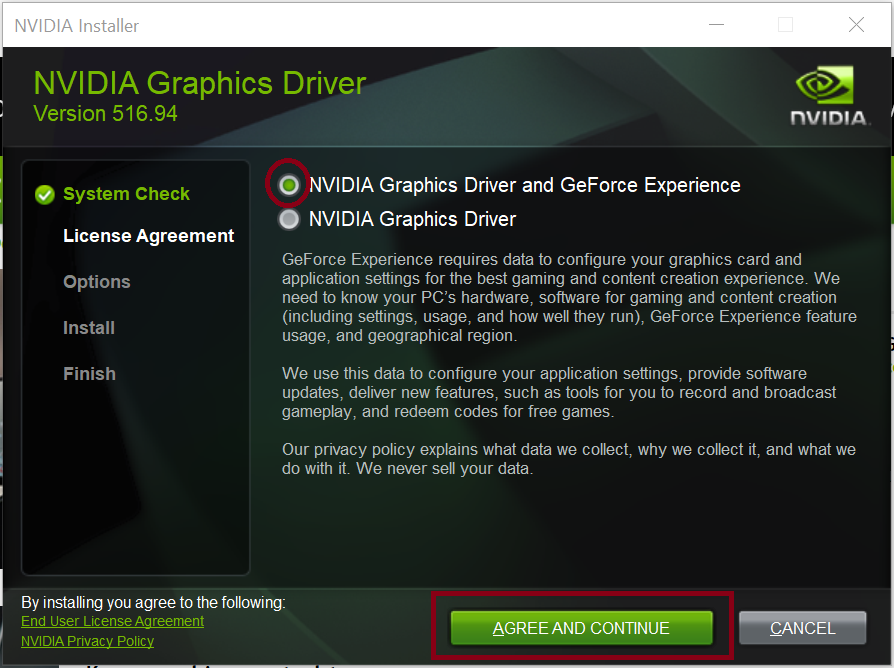
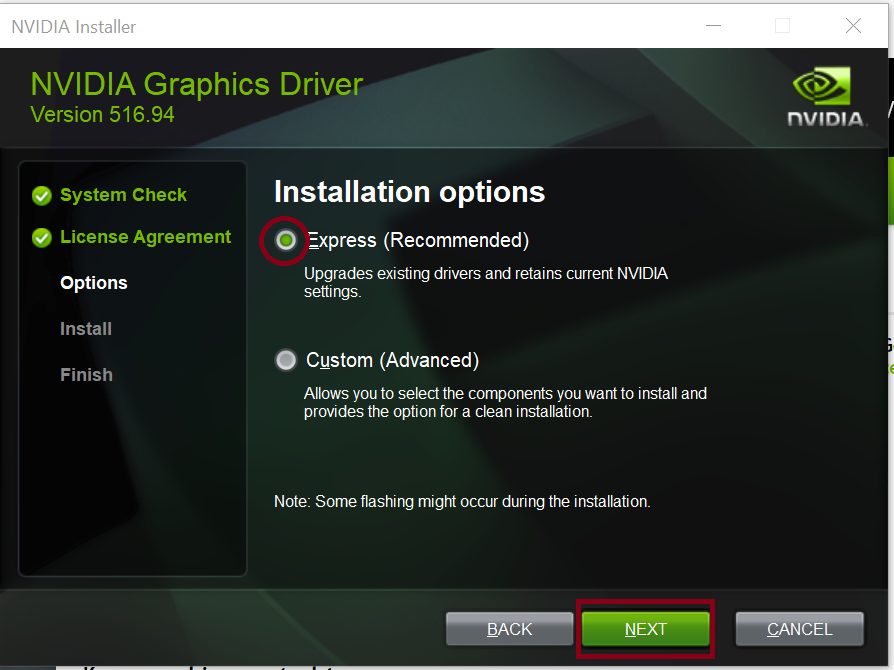
8. Complete the installation process. When prompted with choices, use the default options if you're unsure.
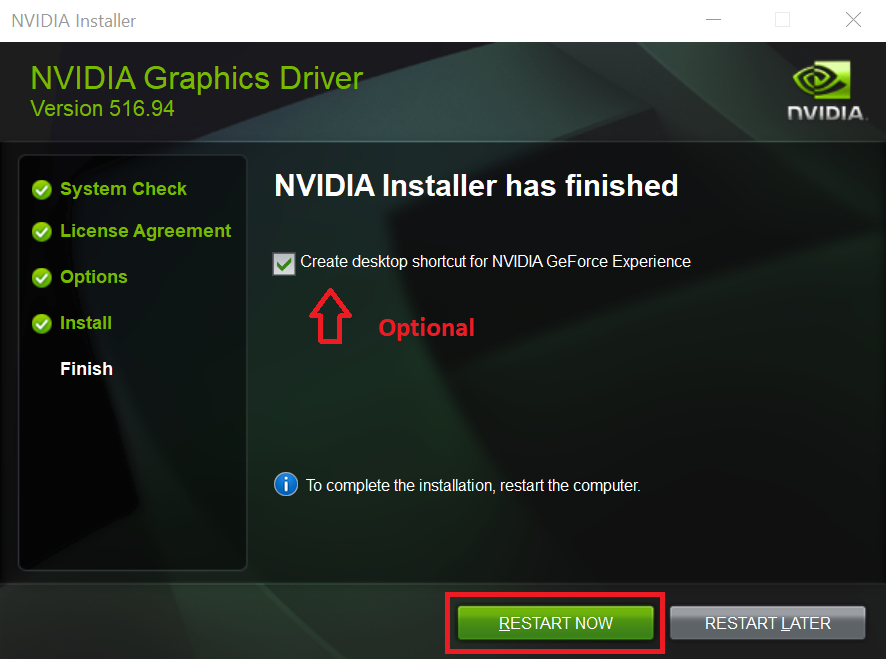
9. Once the driver has finished installing, unplug the eGPU enclosure and click the RESTART NOW button to restart your laptop and complete the installation. You can choose whether or not you would like to have a desktop shortcut for the NVIDIA GeForce Experience application as well.
10. Once your laptop has fully restarted and you have logged in, use the Thunderbolt cable to connect your laptop to the eGPU enclosure again. Once connected, you should now be able to use the eGPU to run applications and connect external displays to the eGPU using HDMI or DisplayPort cables.
Troubleshooting:
If the GPU is detected but not working properly/can't be used:
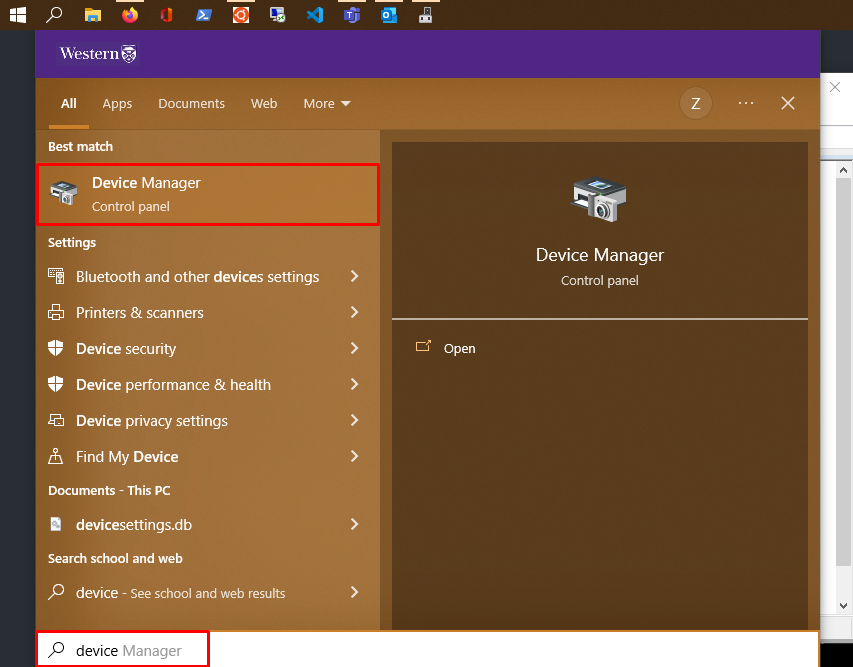
1. Open the Start menu and search for Device Manager
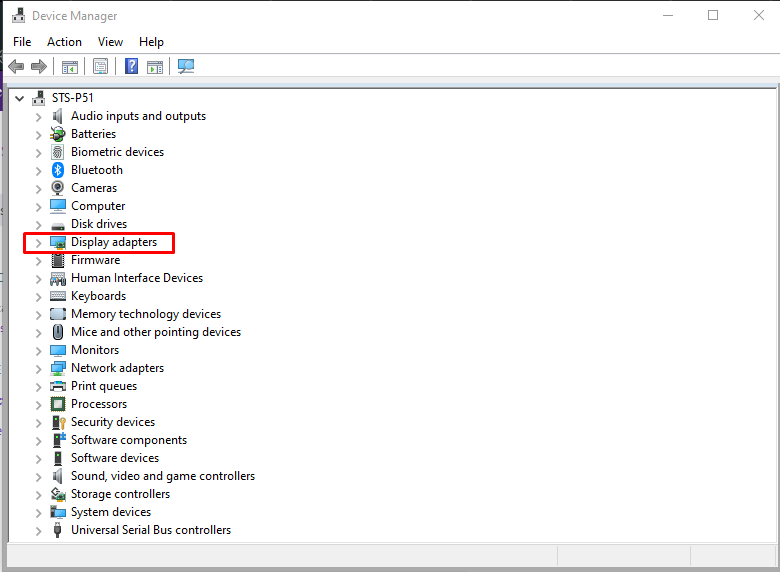
2. Expand the category labelled Display Adapters
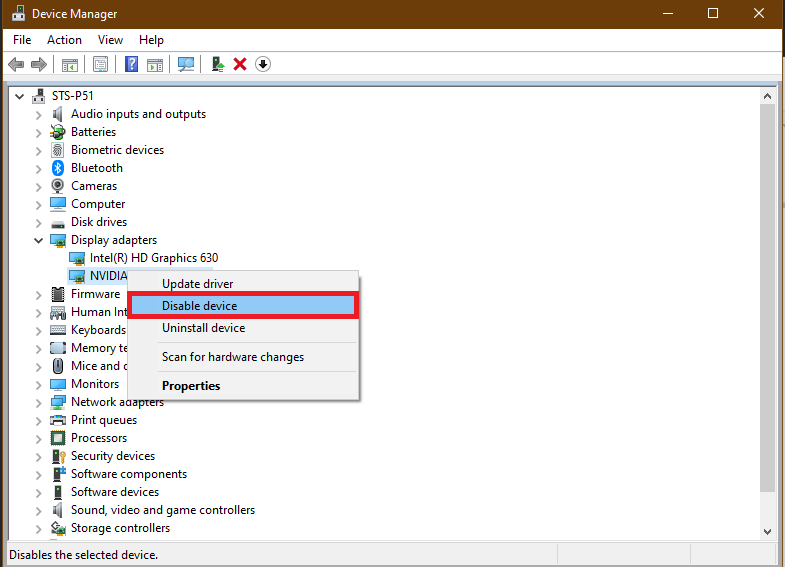
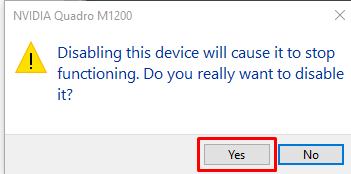
4. Right click the NVIDIA GeForce GTX 3090 adapter and click Disable Device – click yes to the warning that pops up.
5. Right click the same adapter and click Enable Device – the eGPU should now be operational.
